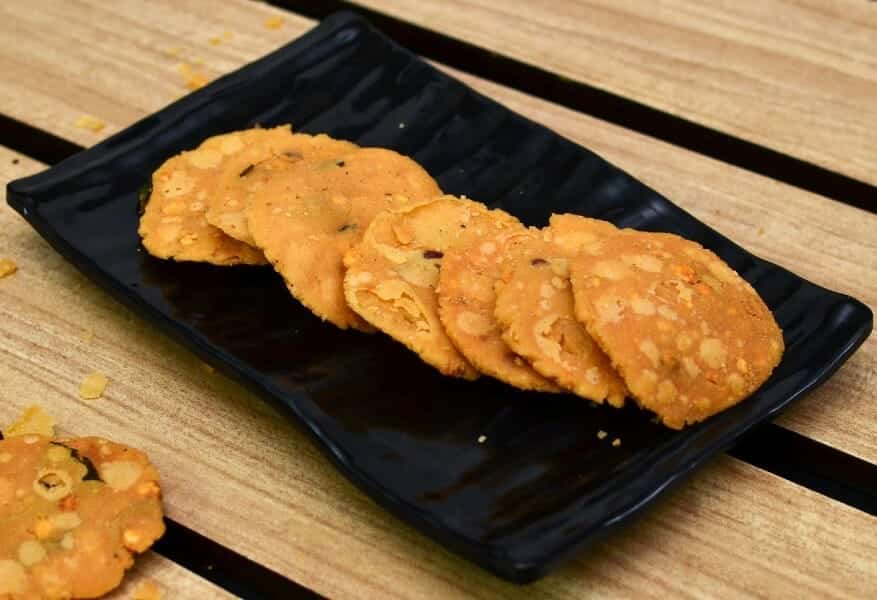
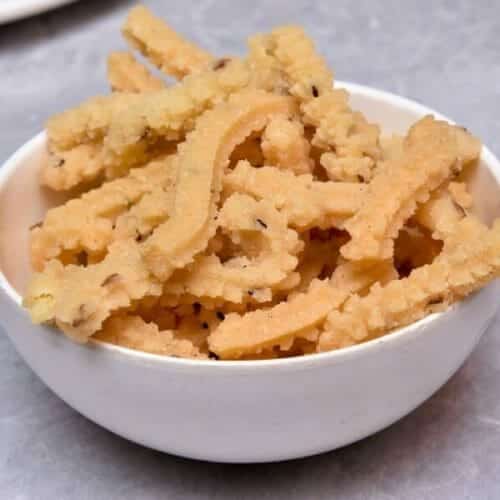
Thattai holds a special place in South Indian kitchens, especially during festival seasons. This traditional snack brings back memories of my grandmother’s kitchen, where the aroma of freshly fried thattai would fill the entire house. The combination of rice flour with roasted lentils creates an incredible texture that’s both crispy and satisfying. What makes this recipe wonderful is how simple ingredients transform into something so delicious. The process might seem long, but most of it is just waiting time while ingredients soak or dry.
About the Recipe
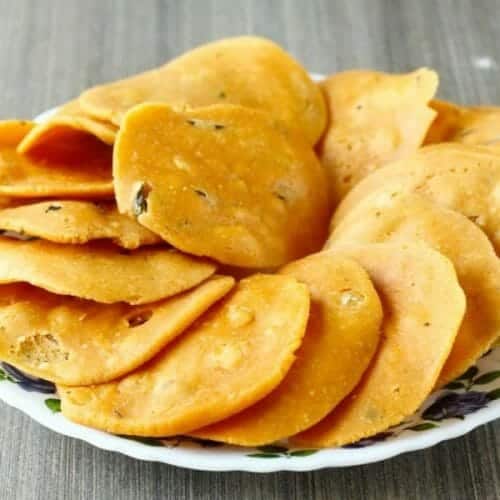
This homemade thattai recipe creates the perfect balance of crunch and flavor that store-bought versions just can’t match. The secret lies in properly preparing your rice flour and getting the right consistency for your dough. When you make these at home, you control the spice level and freshness. These golden discs are not just snacks – they’re little bites of tradition. The recipe serves about 6-8 people and takes around 3-4 hours including soaking and drying time, but the actual hands-on work is much less.
Why You’ll Love This Recipe
The first bite of homemade thattai will transport you straight to snack heaven. The crunch is incredibly satisfying, and the blend of black pepper, asafoetida, and curry leaves creates layers of flavor in every bite. Unlike many fried snacks, these don’t feel heavy or greasy when made properly. They’re also surprisingly versatile – perfect with evening tea, as party appetizers, or packed for picnics. Plus, they stay fresh for weeks when stored correctly, making them ideal for meal prep or gift-giving. The process is therapeutic too, and there’s something deeply satisfying about shaping each piece by hand.
Cooking Tips
Make sure your rice flour is completely dry before mixing – any moisture will make your thattai soggy. The dough should hold together but not be sticky. Test your oil temperature with a small piece first; it should sizzle gently, not violently. Don’t overcrowd the pan while frying, as this drops the oil temperature. Fry on medium heat for even browning. If your thattai breaks while frying, your dough might be too dry – add a tiny bit of water next time.
Serving and Storing Suggestions
This recipe makes about 30-35 pieces and takes roughly 3-4 hours total time. Serve thattai warm with hot tea or coffee for the best experience. They’re also delicious at room temperature as a crunchy snack. Store completely cooled thattai in airtight containers for up to 3 weeks. For longer storage, freeze them for up to 2 months. Always let them cool completely before storing to maintain crispiness.
Similar Recipes
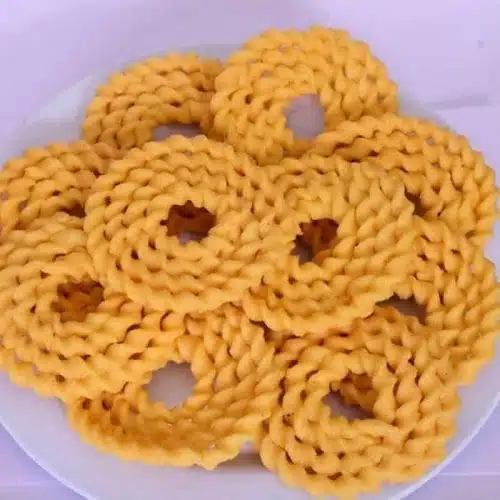
- Murukku (spiral-shaped rice flour snack)
- Ribbon Pakoda (ribbon-shaped fried snack)
- Chakkuli (Karnataka-style murukku)
- Nippattu (spicy rice crackers)
- Seedai (small round fried balls)
Nutrient Benefits
Thattai provides energy from rice and protein from urad dal and bengal gram. Black pepper aids digestion and adds antioxidants, while curry leaves provide vitamins A and C. Asafoetida helps with digestive health. Though fried, the lentils add fiber and plant-based protein. The roasted gram powder contributes additional protein and gives a lovely nutty flavor. Enjoy these in moderation as part of a balanced diet.

Thattai
Ingredients
- 500 g Raw Rice
- 50 g Urad Dal
- 1 tsp Roasted Gram powdered
- 3 tsp Bengal Gram Dal
- 3 tsp Salt
- 3 tsp Black Pepper Powder
- 1 1/2 tsp Asafoetida Powder
- 3 tsp Butter
- 500 ml Oil
- few Curry Leaves
Instructions
- Wash and soak the rice for 30 minutes.
- Drain and spread it out on a cloth under the shade to dry.
- Then grind to a smooth powder.
- Sieve the flour and dry roast till all the moisture evaporates.
- Dry roast the urad dal till golden and grind to a powder.
- Soak the bengal gram dal for 30 minutes.
- For 2 parts of rice flour, add 1/4 part of urad flour.
- Combine them in a bowl.
- Add roasted gram flour, drained bengal gram, salt, butter and mix well.
- Gradually add enough water and mix well to a thick, pliable dough.
- Add curry leaves and mix again.
- Make small-medium size balls of the dough and flatten them.
- Heat oil in a deep frying pan.
- Fry the prepared thattais till light golden brown.
- Drain excess oil and store in an airtight container.
Sign up for our newsletter
Add Awesome Cuisine as a Preferred Source

Usually made with rice flour, there are numerous variations of thattai. Here are some of the popular variations to this crispy snack.
- Mint flavour- Add 1 to 2 tblsp of chopped mint leaves and 1/4 tsp of ajwain.
- Masala flavour– Add 1 tsp of red chilli powder and 1 tsp of cumin seeds.
- Garlic flavour– Add 10 to 12 garlic cloves, 1/2 grated coconut and 6 to 8 dry red chillies. Mix it with the dough.
- Puzhungal Arisi – Instead of raw rice, use boiled rice.
- Wheat – Add equal quantities of wheat flour and rice flour.
- Spinach – Mix handful of chopped spinach leaves.
- Ragi – Just like the wheat variation, add equal quantity of ragi flour and rice flour.
- Rava – Replace raw rice with sooji (rava)
- Methi – Instead of rice flour and bengal gram , use 1 cup maida and 1 bunch chopped methi leaves.
Frequently Asked Questions
Can I use store-bought rice flour instead of grinding my own?
Yes, but homemade flour gives better texture and taste. If using store-bought, dry roast it lightly to remove moisture and enhance flavor. Make sure it’s fine and fresh for best results.
Why do my thattai turn out too hard or soft?
A: Hard thattai usually means too much flour or overcooking. Soft ones indicate excess moisture in the dough or oil temperature too low. The dough should be pliable but not sticky.
How can I make thattai without it breaking during frying?
A: make sure your dough has the right consistency – not too dry or wet. Press gently while shaping, and slide carefully into oil. Fry on medium heat to cook evenly without shocking the dough.
Can I prepare the dough ahead of time?
It’s best to fry immediately after making dough. The dough can become hard if left too long. However, you can prepare the dry ingredients mixture a day ahead and add water when ready to fry.

7 comments
Any chance of you selling these delicious snacks…..I’m too old to prepare them and also living alone. Yearning for these delicacies. 😩
Good recipe thank you
nice
I like the thattai receipe. I don’t know hose to make. will try now with this receipe. thanks. I also would like to have the receipe of MURUKU ( HAND MADE) I know how to make with hand but I am not getting the crispy muruku which we get in kerala
thanks
Thank You. Very easy to follow directions.
Thank you for the well explained “Thattai”receipe,I am already started the preparation for Thattai neivedhyam for Sri Krishna Janmashtami tomorrow.
Thanks a lot
very useful krishna Jayanthi recipes !