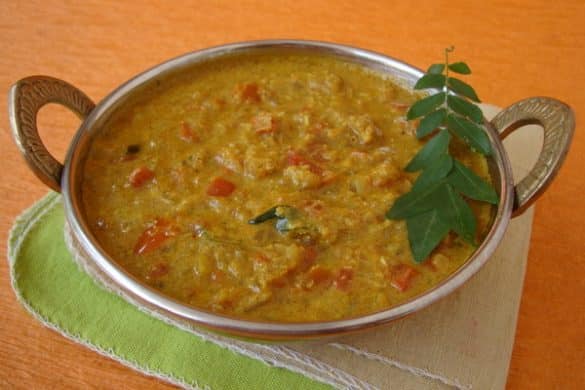
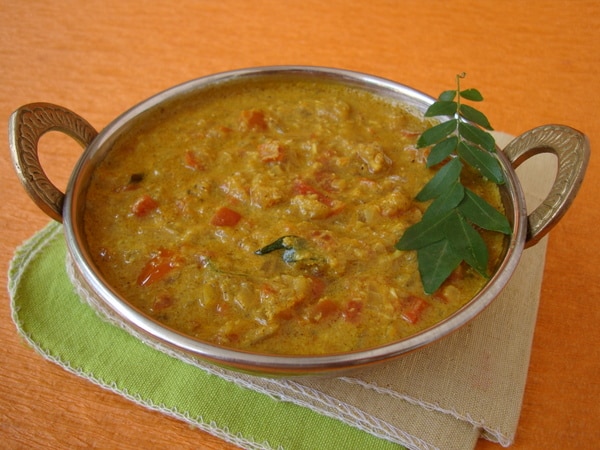
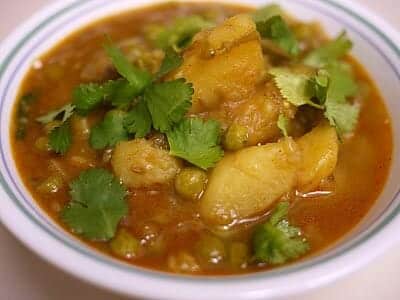
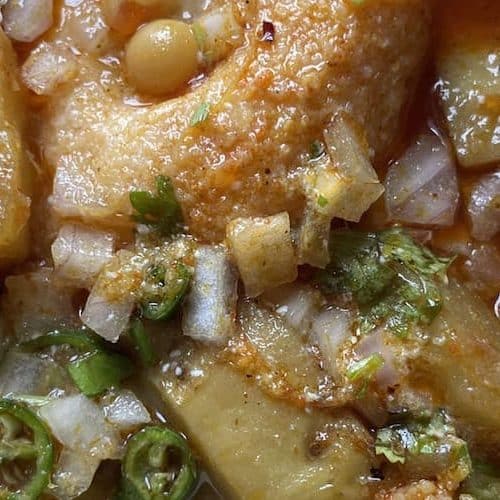
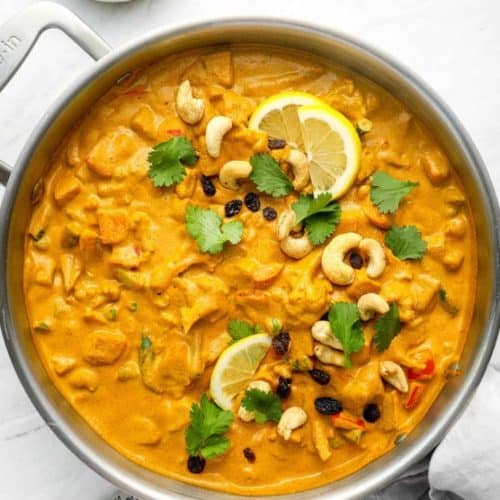
Red Kurma, a classic South Indian dish, is a symphony of vibrant vegetables enveloped in a velvety, red-hued coconut gravy. This recipe combines the aromatic spices and rich, creamy coconut flavour that defines South Indian cuisine.
The beauty of Red Kurma lies in its versatility. It’s a hearty, satisfying dish that can be enjoyed with idles, pulkas, or even rice. The combination of ingredients in this kurma offers a delightful balance of textures and flavours, making it a favourite in South Indian households.
In this recipe, we start by finely chopping onions and cutting a medley of vegetables – tomatoes, carrots, beetroot, fresh peas, potatoes, and red cabbage. These ingredients come together to create a visually stunning and delicious medley.
The magic happens when we prepare a flavorful paste, incorporating grated fresh coconut, poppy seeds, cashew nuts, roasted gram, green chillies, red chillies, and coriander. This paste infuses the kurma with its signature taste and colour.
The vegetables are pressure-cooked until they’re perfectly tender, and while that’s happening, we fry the onions until they turn golden brown. Then, the chopped tomatoes join the party and are cooked until they become pulpy. It’s at this point that we add the fragrant paste, creating an aromatic base for the kurma.
Once the vegetables are ready, we mix them with the flavorful paste, and the dish starts to come together. To achieve that creamy and rich consistency, we introduce thick coconut extract and simmer until it reaches a delightful boiling point.
Finally, we garnish the Red Kurma with fresh coriander and curry leaves, adding freshness to the dish. The result is a beautiful, mouthwatering curry that’s as pleasing to the eyes as it is to the palate.
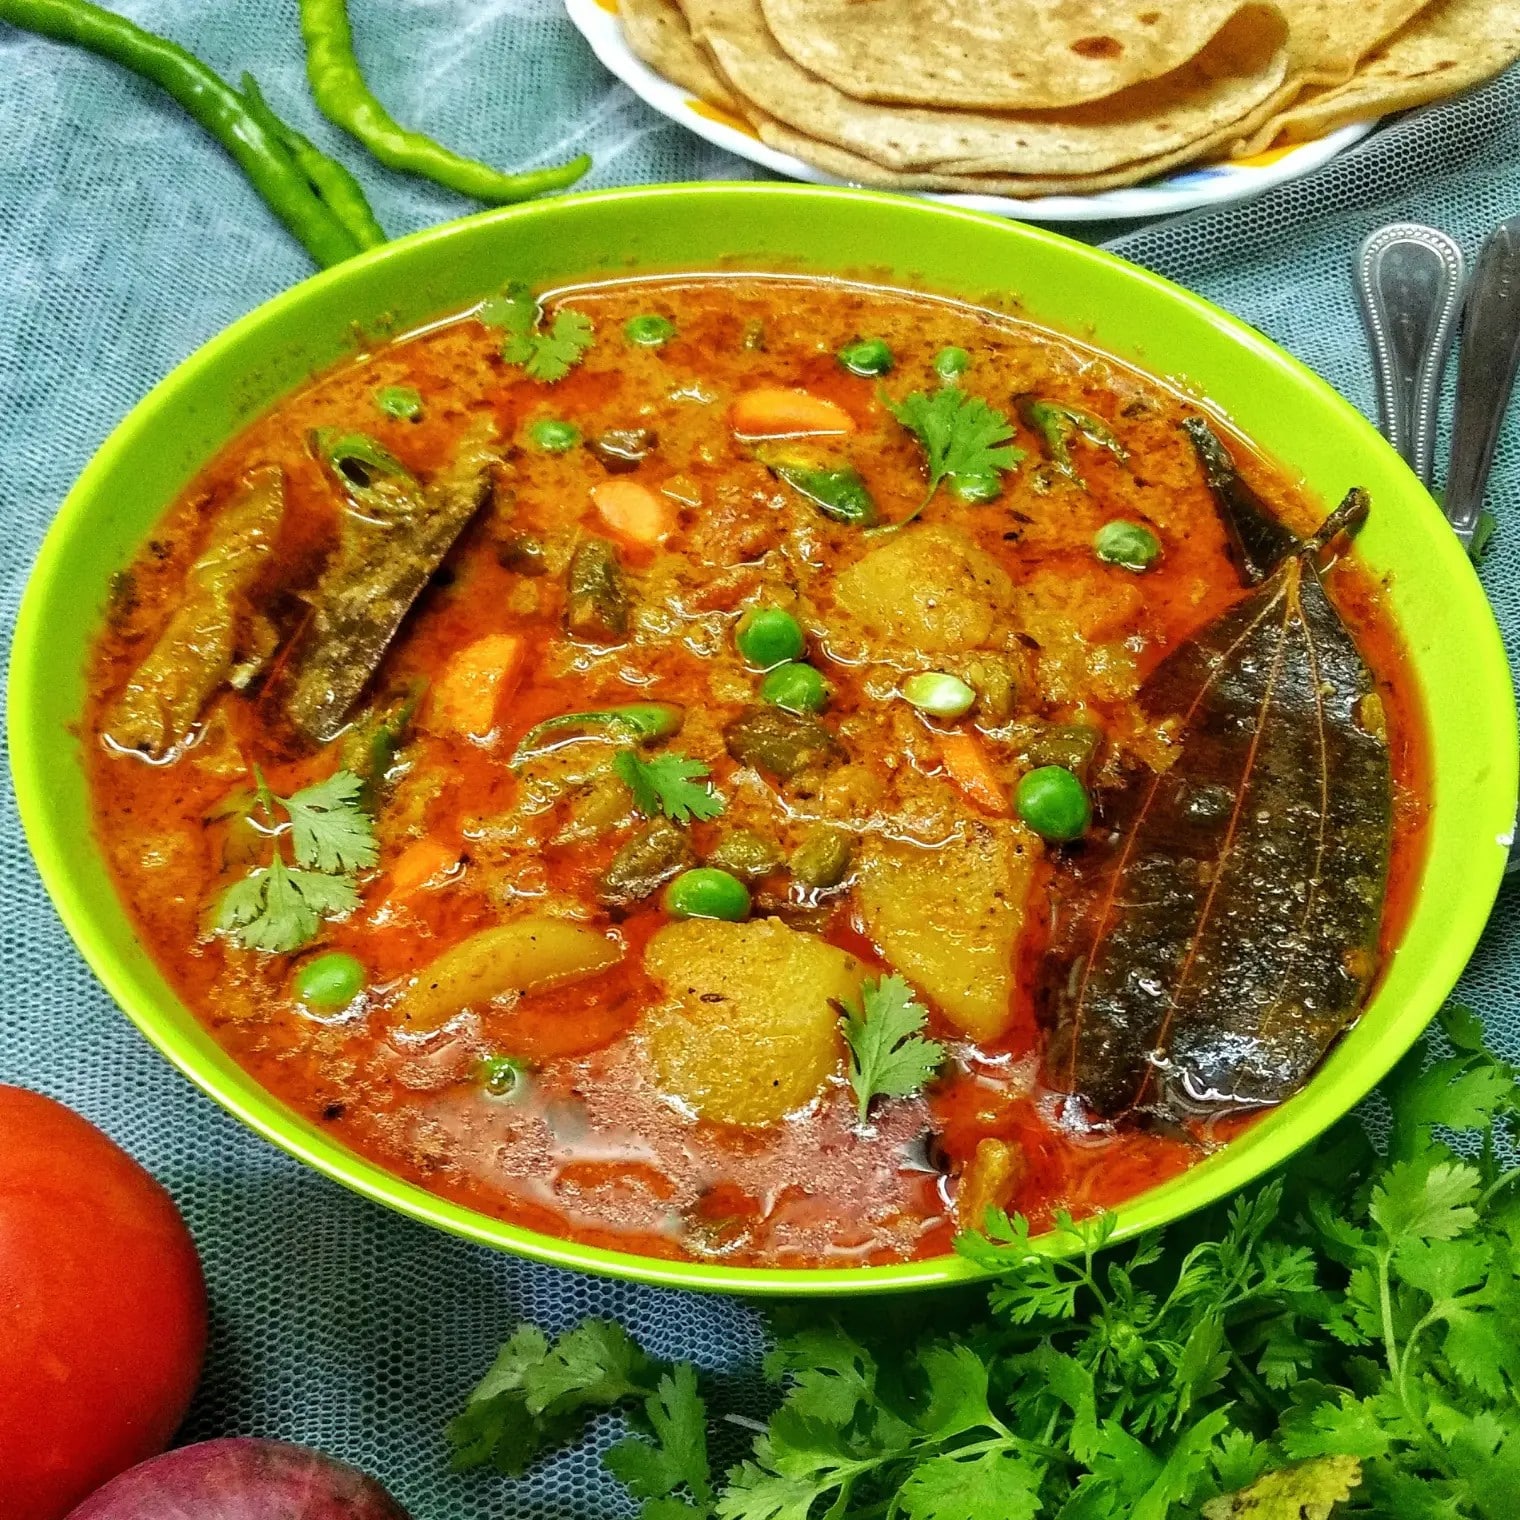
Red Kurma

Red Kurma
Ingredients
- 2 large Onions finely chopped
- 3 Tomatoes chopped
- 4 medium Carrots finely sliced
- 1 Beetroot finely sliced
- 1/4 cup Fresh Peas shelled
- 2 Potatoes diced
- 1/2 Red Cabbage finely sliced
- 2 tablespoons Oil
- Coriander and Curry Leaves for garnish
- 1/2 cup Thick Coconut Extract
For the Paste:
- 1/2 cup Grated fresh Coconut
- 1 tablespoon Poppy Seeds
- 10 Cashewnuts
- 1 1/2 tablespoons Roasted gram
- 3 Green Chilies
- 6 Red Chilies
- 1 tablespoon Dhania Coriander Seeds
- Salt to taste
Instructions
- Peel and finely chop the onions. Cut all the vegetables into fine pieces.
- Pour enough water to cook the vegetables (except tomatoes) and pressure cook until you hear one whistle.
- In a deep pan, heat oil and fry the onions until they turn golden brown.
- Add the chopped tomatoes and stir until they turn pulpy.
- Mix the ground paste with this and stir for a few minutes.
- Strain the water from the cooked vegetables (you can use it for soup or for grinding the masala).
- Add the cooked vegetables to the fried paste and stir for a few minutes.
- Pour in the coconut extract and cook until it reaches the boiling point. Remove from heat.
- Garnish with fresh coriander and curry leaves. Serve hot with idlis or pulkas.
Sign up for our newsletter
Frequently Asked Questions (FAQ):
Can I make this Red Kurma less spicy?
Absolutely! You can control the spiciness by adjusting the number of red and green chillies in the paste. Reduce the quantity to make it milder.
What are some good side dishes to pair with Red Kurma?
Red Kurma pairs wonderfully with idlies, dosas, or pulkas. If you’re looking for more South Indian flavours, consider serving it with coconut rice or lemon rice for a delightful meal.
Can I use canned coconut milk instead of fresh coconut extract?
While fresh coconut extract offers the best flavour, you can use canned coconut milk as a substitute. Just be sure to adjust the quantity to achieve the desired consistency, and be mindful of any preservatives in the canned milk.
Is Red Kurma a vegan dish?
Red Kurma can be vegan-friendly if you use vegetable oil or coconut oil for frying the onions. Ensure that the oil you use aligns with your dietary preferences.
How long can I store leftover Red Kurma?
Leftover Red Kurma can be stored in an airtight container in the refrigerator for up to 2-3 days. Reheat it gently on the stove or in the microwave before serving.
Note: image is for illustration purposes only and not that of the actual recipe.

