Mor Rasam (Buttermilk Rasam) showed up in my kitchen rotation after a particularly hot summer in Chennai, when my neighbour handed me a steel tumbler of hers through the gate. It was cool, tangy, lightly spiced, and I drank it standing there. She told me the trick was to roast the masala slowly so the fenugreek does not turn bitter, and to add the curd only after switching off the flame.
I have been making it her way ever since, and it has become my go-to on evenings when I need something soothing but do not want to eat something heavy. The roasted masala makes all the difference here, and once you smell it toasting in ghee, you will understand why this rasam tastes nothing like the watery versions you sometimes get at restaurants.
About the Recipe
Everything you need for this rasam is already sitting in your pantry if you cook South Indian food regularly. The toor dal cooks in five minutes under pressure, the masala roasts and grinds in another ten, and the rasam itself simmers for less than ten minutes total. I make this on weeknights when I want something comforting but do not feel like chopping vegetables or standing over the stove for long. It pairs well with plain rice and does not need any side dish to feel complete, which makes it practical for solo dinners or light meals.
Why you will love this recipe
The roasted masala gives this rasam a toasted, nutty base that you do not get when you just dump spice powders into the pot. Frying the dal, fenugreek, and peppercorns in ghee before grinding them releases oils that deepen the flavour without adding any heat or sharpness. The whisked curd goes in at the very end, so it stays smooth and tangy instead of curdling into grainy bits.
Because the tomato simmers with the dal first, it breaks down just enough to thicken the rasam lightly, and the tempering adds a final hit of warmth. This is the kind of rasam that tastes better than it looks, and it works on days when you want something gentle but still full of flavour.
 5")
Cooking Tips
The masala burns quickly once the dal starts browning, so keep the heat low and stir often during roasting. If your fenugreek turns dark brown or smells burnt, the rasam will taste bitter, so watch it closely. The curd must go in off the heat or it will split and turn grainy, which ruins the smooth texture. If your rasam tastes too sour, add a pinch of sugar or jaggery to balance it out. Grind the masala smooth with just enough water to make a paste, not a slurry, or the rasam will turn watery.
Top Tips
- Roast the masala ingredients on low heat until the toor dal turns light golden, not dark brown.
- Whisk the curd smooth before adding it so you do not get lumps floating in the rasam.
- Add the curd only after turning off the heat to prevent it from splitting.
- Use sour curd for the best flavour, not fresh or sweet yogurt.
- You can make the roasted masala paste a day ahead and store it in the fridge.
- If you do not have ghee, use sesame oil for the tempering instead.
Serving and Storing Suggestions
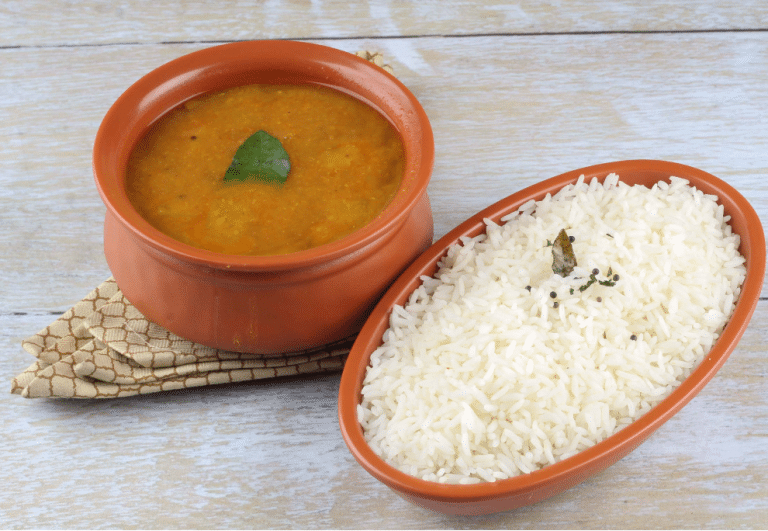
This recipe serves three to four people as part of a rice meal. Prep and cooking take around thirty minutes from start to finish. Serve it hot with plain steamed rice, a spoonful of ghee, and papad on the side. It also works as a light soup if you are not eating a full meal.
Store leftovers in the fridge for up to two days, but the curd may separate slightly when reheated. Warm it gently on low heat and stir well before serving. Do not boil it again or the curd will curdle completely.
Similar Recipes
- Tomato Rasam
- Lemon Rasam
- Pepper Rasam
- Paruppu Rasam
- Brahmin Style Mor Kuzhambu
Nutrient Benefits
Toor dal adds plant protein and fibre, while the curd brings probiotics that help with digestion. Black peppercorns and fenugreek seeds both have anti-inflammatory properties and can support metabolism. Coriander seeds are rich in antioxidants, and tomatoes offer vitamin C and lycopene.
The ghee used in tempering provides fat-soluble vitamins, and because this rasam is light and low in calories, it works well for those looking to eat something nourishing without feeling too full. The combination of spices also helps settle the stomach, which is why rasam often appears in South Indian meals as a digestive aid.
 6")
Mor Rasam (Buttermilk Rasam)
Ingredients
- 1/4 cup Toor Dal – 1/4 cup
- 1 Tomato – 1 medium, quartered
- Salt as per taste
- 1/2 cup Sour Curd – 1/2 cup whisked smooth with 1/2 cup water
- 1 tbsp Coriander Leaves – 1 tblsp chopped
For the Masala:
- 2 tsp Ghee
- 4 Dried Red Chillies
- 1 tsp Coriander Seeds
- 1 tsp Toor Dal
- 1/4 tsp Fenugreek Seeds
- 1/4 tsp Black Peppercorns
- 1/2 tsp Asafoetida Powder
For Tempering:
- 2 tsp Ghee
- 2 tsp Mustard Seeds
- 1 to 2 tsp Jeera
- 2 Dried Red Chillies (broken)
- Curry Leaves (few)
Instructions
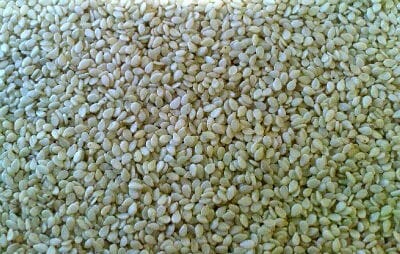
- Wash the toor dal and drain.
- Pressure cook with 1/2 cup of water for 5 minutes.
- Heat ghee for masala in a frying pan.
- Add the rest of the masala ingredients.
- Fry over low heat till dal turns golden.
- Cool and grind to a smooth consistency, adding 2 tblsp of water.
- Keep aside.
- Add 1 cup of water, tomato and salt to the cooked dal.
- Simmer over moderate heat for 4 minutes till tomato is tender.
- Add the masala and simmer for another 2 minutes.
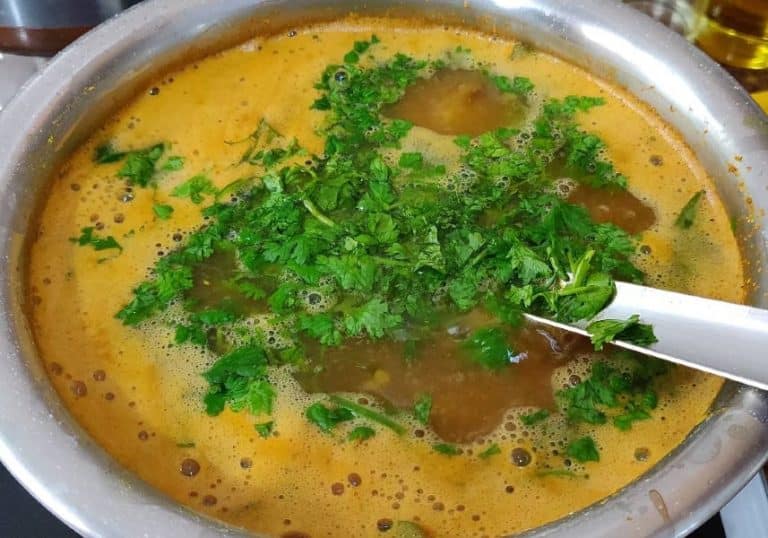
- Heat ghee for tempering and fry the tempering ingredients for a minute.
- Add it to the rasam.
- Turn off the heat.
- Pour the whisked curd and mix well.
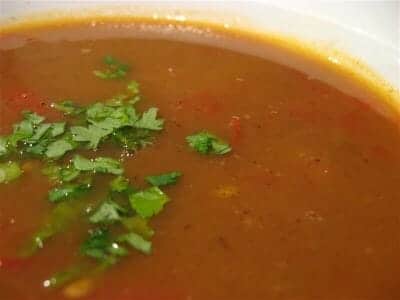
- Garnish with coriander leaves.
- Serve hot with rice.
Sign up for our newsletter
Add Awesome Cuisine as a Preferred Source
Frequently Asked Questions
My rasam curdled after I added the curd. What went wrong?
The heat was still on when you poured in the curd, or the rasam was too hot. Always turn off the flame completely and let it sit for a minute before adding the whisked curd. Stir gently and do not reheat it after adding the curd.
Can I skip the roasted masala and use rasam powder instead?
You can, but the flavour will be flatter and less toasted. Rasam powder does not give you the same nutty depth that comes from roasting and grinding the spices fresh. If you are short on time, use about one and a half teaspoons of rasam powder and skip the masala step.
The rasam tastes too sour. How do I fix it?
Add a small pinch of jaggery or sugar and stir it in. That will balance the sourness without making the rasam sweet. You can also add a bit more cooked dal to mellow the tang.
How long can I store this rasam in the fridge?
Up to two days in an airtight container. Reheat gently on low heat without letting it boil, or the curd will split again. The flavour is best on the day you make it.
My fenugreek smells burnt even though I roasted it on low heat. What happened?
Fenugreek burns faster than the other ingredients, so it may have stayed in the pan too long. Next time, take the pan off the heat as soon as the toor dal turns light golden, even if the fenugreek is still pale yellow. It will continue cooking in the residual heat.