
Vegetable Upma earns its place in my kitchen mostly because of mornings when I have not planned anything and need something real on the table fast. It is not a dish I make to impress anyone. I make it because it works. I almost always have rawa in the pantry, there is usually half a carrot and a handful of beans in the fridge, and the whole thing is done before I finish my first cup of coffee.
The detail I keep coming back to is the roasting step — dry frying the rawa in oil until it smells nutty and slightly toasted. That one step changes the texture completely. Without it, upma can feel heavy and a bit gluey. With it, each grain stays separate and the whole dish has a warmth to it that makes it feel more considered than a twenty-minute breakfast has any right to feel.
About the Recipe
On a weekday morning when the fridge has more odds and ends than a clear plan, this is the recipe I reach for. All the ingredients — rawa, onion, basic vegetables, and a short list of spices — are things most Indian kitchens already have. From start to finish, it takes about twenty-five to thirty minutes, and most of that time is hands-off. I make it most often for breakfast, but it holds up just as well as a light lunch or an early dinner when nobody wants anything heavy.
Why you will love this recipe
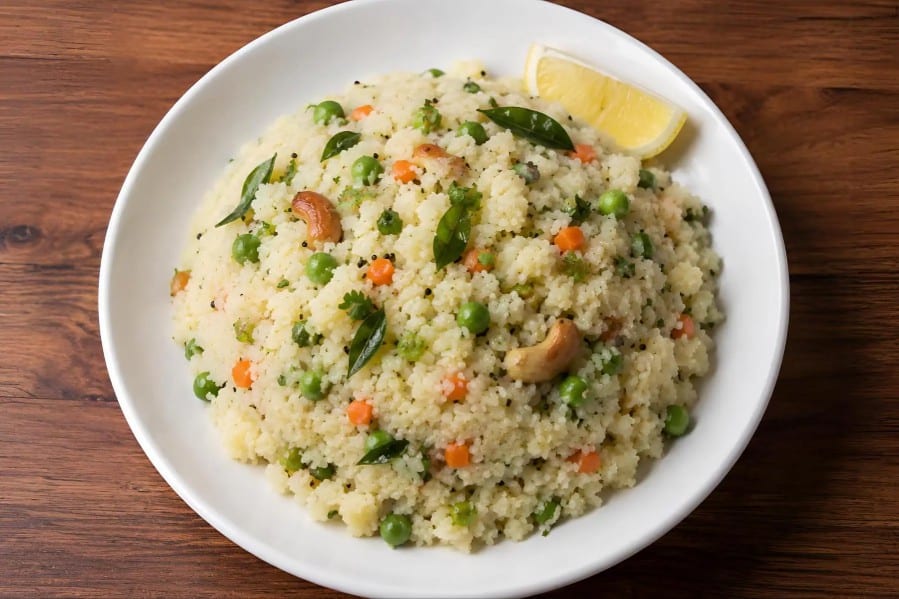
Roasting the rawa before adding it to the pot is what separates a good upma from a forgettable one. That toasty, slightly nutty smell that rises from the kadai when the rawa turns golden — that is the flavour the finished dish carries.
Pair that with mustard seeds popping in hot oil, the warmth of cinnamon and cloves blooming alongside urad dal, and a final hit of lime juice, and you have something that tastes layered without any single step being complicated. The vegetables add colour and a little bite without overwhelming the rawa. And because the whole dish comes together in one kadai, there is very little clearing up at the end. On a busy morning, that matters.
Cooking Tips
The most common mistake is adding the rawa to the boiling water too fast. If you pour it in all at once, it clumps immediately and no amount of stirring rescues it. Add the rawa slowly in a thin stream with one hand while stirring continuously with the other. Also, the water-to-rawa ratio matters more than most people think.
For 2 cups of rawa, use exactly 4 cups of water — too little and it turns dry, too much and it becomes paste-like. Pre-cooking the vegetables separately saves the main pot from getting watery.
Top Tips
- Dry roast the rawa on medium heat until it smells nutty and turns very lightly golden. Do not rush this on high heat or it will burn unevenly.
- Cook the carrot, beans, and peas separately in a small amount of water before adding them to the main kadai. This way they are cooked through without releasing too much moisture into the upma.
- Add the rawa to boiling water, not warm water. If the water is not at a full boil when you add the rawa, it will not absorb properly and the texture will be uneven.
- Keep stirring for the first two to three minutes after adding the rawa. Once it has absorbed the water and the mixture begins to leave the sides of the kadai, you can ease off.
- A small spoon of ghee stirred in at the end gives the upma a glossy finish and a richer aroma. I do this even when the recipe already calls for ghee during tempering.
Serving and Storing Suggestions
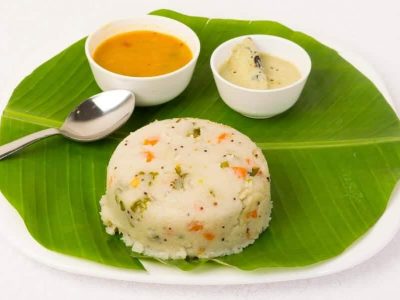
Vegetable Upma serves three to four people generously. Prep and cook time together is about thirty minutes. Serve it hot, straight from the kadai, with coconut chutney or a small bowl of pickle on the side. If you have leftovers, store them in an airtight container in the fridge for up to one day. To reheat, sprinkle a tablespoon of water over the upma before warming it in a pan on low heat — this keeps it from drying out.
Similar Recipes
- Rava Khichdi
- Semiya Upma (Vermicelli Upma)
- Oats Upma
- Pongal
- Poha
Nutrient Benefits
Rawa provides a steady source of energy without being too heavy, which is part of why this works well as a breakfast. The combination of carrot, beans, and green peas adds fibre and a range of vitamins to what might otherwise be a simple grain dish. Cashews contribute healthy fats and a small amount of protein.
The lime juice at the end adds a little vitamin C, which also helps the body absorb the iron present in the green peas and leafy coriander. All together, it is a reasonably balanced one-pot meal.

Vegetable Upma
Ingredients
- 2 cup Rawa
- 2 Onion
- 4 Green Chillies
- 1 Coriander (small bunch)
- 1 sprig Curry Leaves
- 1 Carrot
- 6 to 8 Beans
- 1/2 cup Fresh Green Peas
- 4 Cloves
- 2 Cinamon (small pieces)
- 1 tsp Garam Masala
- Turmeric powder (a pinch)
- 1 tsp Ginger garlic paste
- 1 tbsp Lime Juice
- Cashews (few)
- 4 cups Water
- Salt to taste
- 10 tbsp Oil
- 4 to 5 tsp Ghee
- 1 tsp Mustard Seeds
- 1 tsp Urad dal
Instructions
- Cut the carrot and beans into small pieces.
- Combine carrot, beans and green peas and add little water and cook for five minutes.
- Chop the onion and green chillies.
- In a kadai put little oil and fry the rawa till nice aroma comes out.
- Remove and keep it.
- In same kadai put remaining oil and ghee and when it is hot add mustard seeds.
- When it pops up add cinnamon stick, cloves, urad dhal and cashew nuts and fry till it become light brown.
- Add ginger garlic paste or whole ginger and garlic crushed.
- Fry for a while.
- Add the chopped onion, green chillies and curry leaves and fry till it become transparent.
- Add turmeric powder, cooked vegetable and garam masala.
- Stir well.
- Add water along with salt.
- Bring to boil.
- When it starts boiling, add rawa slowly and stir well, without forming lumps.
- Once it is mixed well add lime juice and stir once again.
- Garnish with coriander leaves.
Sign up for our newsletter
Add Awesome Cuisine as a Preferred Source

Frequently Asked Questions
My upma turned out sticky and lumpy. What went wrong?
The most likely cause is that the rawa was added too quickly or to water that was not fully boiling. Add the rawa in a slow, steady stream while stirring continuously, and make sure the water is at a rolling boil before you start. Also check your ratio — 2 cups of rawa needs 4 cups of water, not more.
Can I skip the step of roasting the rawa separately?
You can, but the texture will suffer. Unroasted rawa absorbs water faster and tends to clump together into a heavier mass. The dry roasting step takes only four to five minutes and makes a noticeable difference to how the finished upma feels — lighter, slightly firmer, and less sticky.
Can I use frozen vegetables instead of fresh ones?
Yes, frozen peas, carrots, and beans all work here. Thaw them first and skip the separate pre-cooking step since frozen vegetables are already partially cooked. Add them directly to the kadai after the onions are done and stir for a minute before adding the water.
The upma tastes a bit bland even though I added salt. What can I adjust?
Check whether the rawa was roasted long enough — under-roasted rawa can make the whole dish taste flat. A proper squeeze of lime juice at the end also lifts the flavour considerably. If it still feels lacking, a small pinch of extra garam masala stirred in before serving usually sorts it out.
How do I know when the upma is fully cooked and ready to come off the heat?
Once you add the rawa and stir it in, watch for the mixture to pull away from the sides of the kadai and come together into a single mass. At that point the rawa has absorbed all the water. Give it one final stir, add the lime juice and coriander, and take it off the heat. If it still looks wet after three to four minutes of stirring, let it sit covered on low heat for another minute.

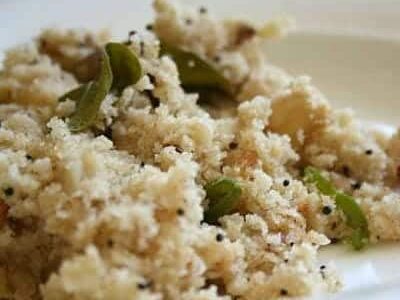
Yummy.