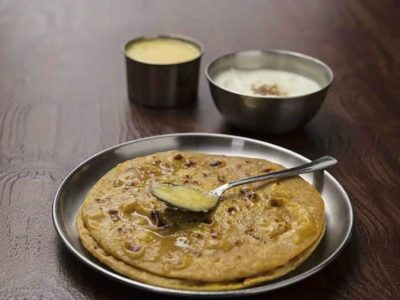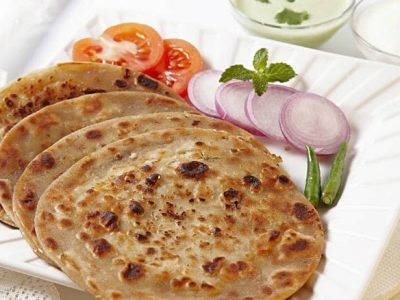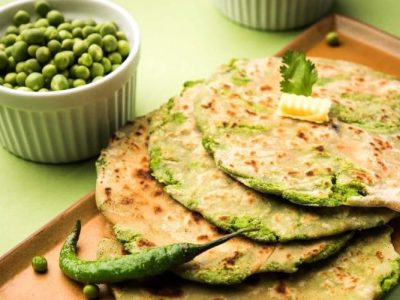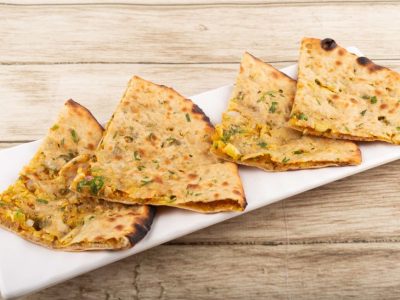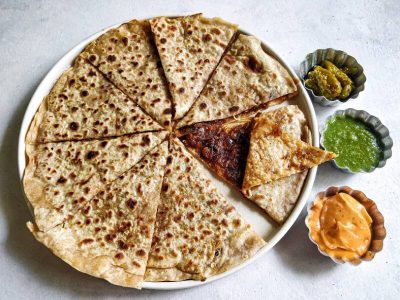
Flaky Paratha is something my aunt used to make for Sunday breakfast when we visited her in Pune. She would roll out the dough the night before, stack the squares between butter paper, and pull them straight from the fridge to the tawa in the morning. The smell of ghee hitting the hot pan would wake everyone up.
I started making it myself a few years ago when I wanted something special but not overly sweet for a weekend brunch. The rose water is subtle, just enough to make you notice something different without tasting like soap. I like how the dough behaves after all that folding and resting. It becomes smooth and cooperative, and the layers separate beautifully when you cook it low and slow.
About the Recipe
This recipe takes planning because of the resting and refrigeration time, but the actual hands on work is not difficult. You will need about three hours from start to finish if you include all the chilling periods. The ingredients are pantry staples except for rose water, which you can find in most Indian grocery stores or online.
I make this when I have people over for breakfast or when I want something more involved than a weekday meal. The folding and rolling process is repetitive, but it gives you time to clean up between rounds.
Why you will love this recipe
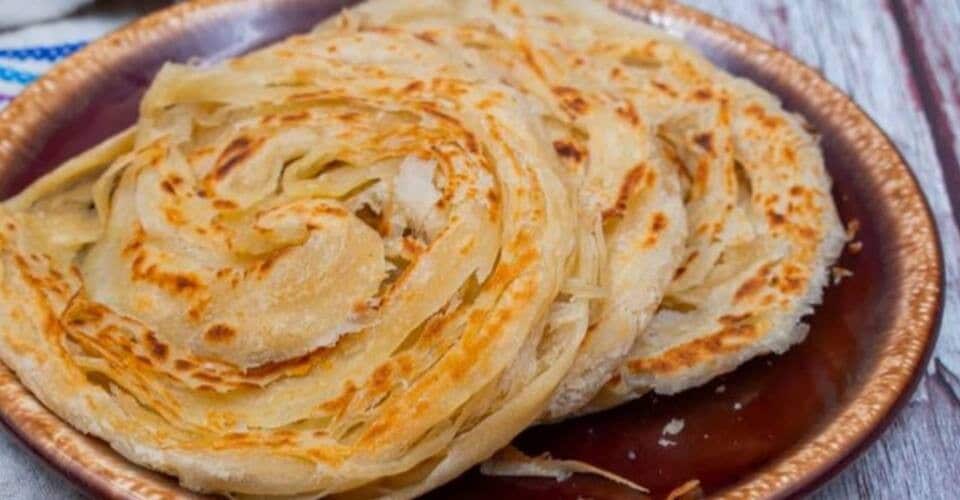
The lamination technique creates layers that puff and separate on the tawa, giving you a texture closer to pastry than bread. The ghee seeps into each fold, so every bite has a buttery richness without feeling heavy. Rose water adds a gentle floral note that works well with the slight sweetness from the sugar, making this paratha suitable for serving with tea or alongside savoury dishes like curries or pickles.
The dough can sit in the fridge for a few hours, so you can prep it in the morning and cook it later in the day. Once you get the hang of the folding rhythm, the process becomes calming rather than tedious.
Cooking Tips
Beginners often skip the resting periods or rush through them, which results in dough that springs back when rolled and layers that do not separate properly. Let the dough rest fully after each fold. If the ghee leaks out during rolling, you have added too much at once or the dough is too warm. Chill it again before continuing.
Cook the paratha on low heat, not medium or high. High heat will brown the outside before the inside cooks, leaving you with a tough, chewy result instead of a flaky one. Use a heavy tawa if you have one, as it distributes heat more evenly.
Top Tips
- Keep the dough covered with a damp cloth whenever it is resting to prevent it from drying out and forming a skin.
- Use cold ghee when spreading it on the flattened dough for better control and cleaner folds.
- Dust the dough lightly with flour before each fold to prevent sticking, but do not overdo it or the layers will become dry.
- Cut the rolled dough into squares with a sharp knife dipped in flour to avoid dragging and tearing the edges.
- Stack the cut squares between butter paper or parchment to keep them from sticking together in the fridge.
- If the dough becomes too soft while working, refrigerate it for ten minutes before continuing.
Serving and Storing Suggestions
This recipe makes about twelve to sixteen parathas depending on how you cut the dough. Total prep time is around three hours, including all the resting and chilling. Serve them warm straight from the tawa with a dollop of yogurt, pickle, or a light vegetable curry. They are also good with chai or as a standalone snack.
Store cooked parathas in an airtight container in the fridge for up to two days. Reheat them on a dry tawa over low heat for a minute on each side to restore some crispness. Do not microwave them, as they will turn soft and lose their texture.
Similar Recipes
- Lachha Paratha
- Malabar Paratha
- Plain Tawa Paratha
- Ghee Roti
- Khasta Kachori
Nutrient Benefits
Flour provides carbohydrates for energy, while ghee adds healthy fats that help with the absorption of fat soluble vitamins. Milk contributes protein and calcium, supporting bone health. Rose water has mild anti inflammatory properties and aids digestion. This paratha is calorie dense because of the ghee, so portion sizes matter if you are watching intake.
Pair it with a rich in protein side like dal or yogurt to balance the meal. The sugar content is low, making it suitable for savoury or lightly sweet pairings.
Flaky Paratha
Ingredients
- 4 cups Flour
- 1 cup Milk
- 3 tsp Sugar
- 1/2 tsp Rose Water
- 1 tsp Salt
- 1/2 cup Water
- 1/4 cup Melted Ghee
Instructions
- Put the milk in a pan and warm it gently.
- Dissolve the sugar in the milk and add the rose water.
- Sieve the flour and salt into a mixing bowl.
- Make a well in the centre and pour in the milk.
- Mix gradually into the flour.
- Knead to make a smooth dough and keep aside, covered with a wet cloth, for 30-45 minutes.
- Add 2/3rd of the melted ghee to the dough and knead till the ghee is fully absorbed. Keep aside for 20 minutes.
- Flatten the dough into a rectangular shape, spread 1 tblsp ghee evenly over it, dust with flour.
- Fold one end and then the other to make 3 layers.
- Refrigerate for 10 minutes. Repeat this process 3 to 4 times.
- Place the dough on a floured surface and roll it into a rectangular shape 1/8th inch thick.
- Cut into squares with a sharp knife.
- Make 2 or 3 incisions on each square.
- Place the squares on individual sheets of butter paper. Refrigerate for 2 hours.
- Heat a tawa and place a paratha on it.
- Cook on low heat, dribbling ghee around the sides as required, until golden brown.
- Turn and cook the other side in the same way, until the paratha looks puffy and cooked.
- Serve immediately.
Sign up for our newsletter
Add Awesome Cuisine as a Preferred Source

Frequently Asked Questions
Why is my dough tearing when I roll it out after refrigeration?
The dough is too cold and the gluten has tightened up. Let it sit at room temperature for five to ten minutes before rolling. If it still tears, knead it gently for a minute to warm it up and make it pliable again.
Can I skip the rose water if I do not have it?
Yes, leave it out entirely or add a tiny pinch of cardamom powder to the dough for a different aromatic note. Do not substitute with rose essence, as it is much stronger and will overpower the paratha.
My parathas are not puffing up on the tawa. What went wrong?
You either cooked them on too high heat, which sealed the outside before steam could build inside, or you did not fold and rest the dough enough times to create distinct layers. Make sure you complete all three to four folding cycles and chill the dough between each one.
How do I know when the paratha is fully cooked?
It should look puffy and have golden brown spots on both sides. Press gently with a spatula. If it feels firm and springs back slightly, it is done. If it feels doughy or collapses, give it another minute on low heat.
Can I freeze the uncooked parathas?
Yes, freeze them on a tray first until solid, then transfer to a zip lock bag with butter paper between each square. Thaw in the fridge overnight before cooking. Do not cook them from frozen, as the outside will burn before the inside thaws.