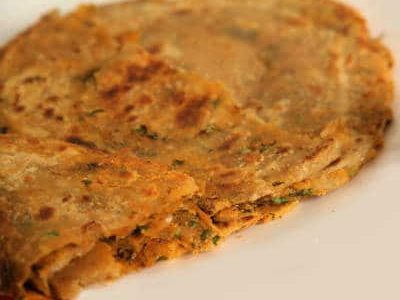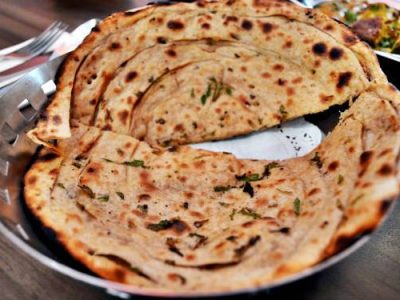
Stuffed Vegetable Paratha came into my regular rotation because of a very specific request. My nephew, who visits most weekends, went through a phase of refusing plain rotis entirely. He wanted “the one with stuff inside.” So I started making this, and what surprised me was how quickly it became something I looked forward to cooking, not just serving.
The part I find most satisfying is the sealing step — pressing the edges of the two chapatis together with wet fingers while the filling sits neatly inside. There is something about that small, careful action that makes the whole process feel considered. Once you get the seal right, the filling stays put through the frying, and you get that crisp outer layer with the soft, spiced interior that makes this worth the extra effort.
About the Recipe
All the vegetables here are ones you are likely to have at home already — potato, carrot, cauliflower, peas. Nothing needs sourcing specially. The dough rests for two to three hours, so plan ahead, but the active cooking time is manageable. I usually make this on a Sunday when I have the morning free and want something substantial by midday. The filling comes together in one pan, the rolling takes a little patience, and the whole thing is on the tawa within about 20 minutes of assembly starting.
Why you will love this recipe
The two-chapati method means you get a proper layer of filling in every bite, not just a small pocket of it. Because the filling is cooked and dried out before it goes inside, you do not get the sogginess that sometimes happens with stuffed flatbreads. The combination of fried onion, green chilli and fresh coriander stirred through the mashed vegetables gives the filling real depth — it is not bland in the middle.
Rolling with oil instead of dry flour is the trick that keeps the paratha crisp on the outside. That small swap makes a noticeable difference to the final texture.
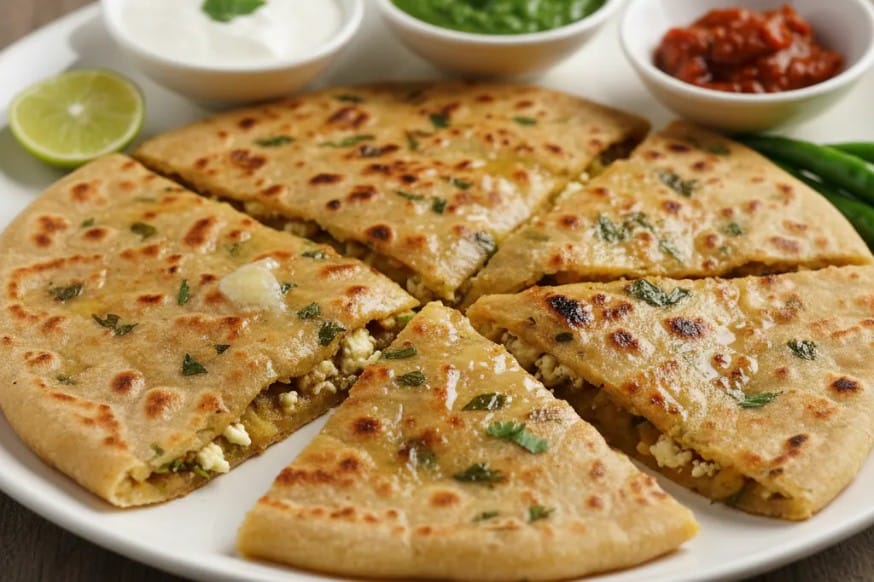
Cooking Tips
The most common beginner mistake here is a filling that is too wet. If the vegetables are not fried until genuinely dry in the pan, the moisture seeps through the dough during cooking and the paratha tears or goes soft. Keep the heat medium-high and keep stirring until no liquid remains. Also, do not skip the resting time on the dough. Under-rested dough fights back when you roll it and tends to spring back and thin unevenly.
Top Tips
- Rest the dough for at least two to three hours, covered with a damp cloth, so it rolls out smoothly without shrinking back.
- Use oil rather than dry flour when rolling the chapatis — this is what gives the paratha its crisp exterior, so do not swap it out.
- Make sure the filling is completely cool before spreading it on the chapati, otherwise it softens the dough and makes sealing difficult.
- Wet your fingers before pressing the edges together — dry fingers do not create a strong seal and the filling can leak during frying.
- The tawa should be on gentle heat when the paratha goes in first. Let it cook through slowly before adding oil or ghee around the edges to brown it.
- You can make the filling a day ahead and refrigerate it. Bring it to room temperature before assembling.
Serving and Storing Suggestions
Serves 4, with roughly 2 parathas per person depending on size. Prep time including dough resting is about 3 hours, but active time is around 45 minutes. Serve immediately off the tawa with plain yogurt, pickle, or a simple raita. Parathas do not hold well once cooled — the crust softens. If you need to store them, wrap individually in foil and reheat on a dry tawa for 2 to 3 minutes per side rather than microwaving.
Similar Recipes
- Aloo Paratha
- Gobi Paratha
- Methi Thepla
- Matar Kachori
Nutrient Benefits
This paratha carries a reasonable spread of nutrients because of the variety of vegetables in the filling. Cauliflower and peas contribute both fibre and plant protein, while carrot adds beta-carotene. Using whole wheat flour rather than refined flour means more fibre per serving. Making it with ghee adds fat-soluble vitamin absorption. It is a genuinely balanced meal in one flatbread, which is partly why it works so well as a standalone breakfast or lunch without needing much on the side.

Stuffed Vegetable Paratha
Ingredients
- 3 cups wheat flour
- 1 small potato
- 1 small carrot
- a few florets cauliflower
- 1/2 cup shelled peas
- 1/2 teaspoon red chilly powder
- 1/2 teaspoon garam masala powder
- salt to taste
- ghee or oil for frying
Chop very fine:
- 3-4 green chillies
- 1/2 inch piece ginger
- 1 medium onion
- a handful fresh coriander
Instructions
- Knead the flour with a little salt, 3 teaspoons of oil and sufficient water to make a soft dough. Keep covered for atleast 2-3 hours before making.
- Wash and chop the vegetables. Add the shelled peas, a little salt and steam cook. While still hot, mash. Set aside.
- Heat 2 tablespoons of oil, add the chopped ingredients (except the coriander) and stir fry until the onions turn brown. Then add the chilly and garam masala powders, and fry for a while. Add the cooked vegetables and fry till dry. Add the chopped coriander, mix well, and set aside to cool. Divide the mixture into balls.
- Divide the dough into lemon-sized balls, twice the number in step 3. Taking out 2 balls at a time, roll into 2 chapatis using a little oil while rolling instead of flour. (this will make parathas crisp).
- Take a ball of the vegetable mixture, spread evenly on one chapati, and cover with the other. Seal the edges firmly all around by pressing them with wet fingers.
- Heat a skillet (tawa) gently, put in the paratha, turn on both sides till done. Now add oil or ghee all around the edges, fry both sides, carefully turning over until evenly brown. Serve very hot.
Sign up for our newsletter
Add Awesome Cuisine as a Preferred Source

Frequently Asked Questions
My paratha kept tearing while I was rolling it. What went wrong?
This usually happens when the dough is either too dry or has not rested long enough. The gluten needs time to relax, which is why the recipe asks for a two to three hour rest. Also check that the filling is completely cool and not too wet — warm or damp filling softens the dough from inside and makes it fragile when you apply pressure with the rolling pin.
The two chapatis kept separating while frying. How do I get a better seal?
Wet fingers are the key. Before you press the edges together, dip your fingers in water and run them around the rim of the bottom chapati before placing the top one over it. Then press firmly all the way around. If edges still lift during frying, press them down gently with a flat spatula while the paratha is on the tawa.
Can I use different vegetables in the filling?
Yes. The base method works with most vegetables that can be cooked, mashed, and dried out in a pan. Spinach works if you squeeze out all the water first. Sweet potato can replace regular potato. Leftover cooked vegetables from the previous night are also fair use here, as long as you fry them dry before filling.
Can I make these without ghee or oil?
You can dry-cook them on the tawa, but the outside will not brown properly and the texture will be noticeably different — drier and a little tough. A small amount of oil around the edges is what creates the crisp crust. If you want less fat, use a light brush of oil rather than skipping it entirely.
My filling tasted bland even though I followed the quantities. What should I adjust?
Check your salt first — vegetables absorb a lot of it and the filling often needs more than you expect. Also make sure you fried the onion until properly brown, not just softened. That caramelisation adds a lot of the underlying flavour. If it still feels flat, a small squeeze of lemon juice stirred through the cooled filling before assembly usually brings it together.