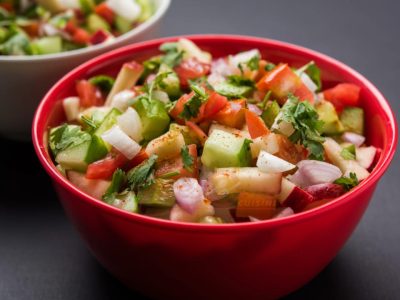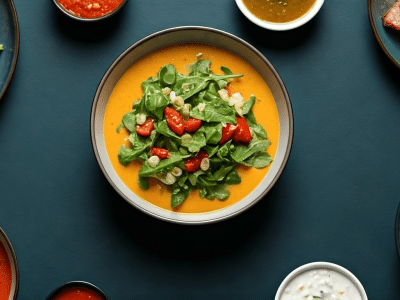
A food photograph can answer a practical question: what should I look for? A short sequence can answer another: what happens next? A moving scene might simply suggest a mood. When these roles are clear, visual storytelling can support a recipe without making promises that the images cannot keep.
The difficulty begins when an attractive illustration looks like evidence. A generated bowl of rice is not proof of a cooking result. A loop of steam does not establish temperature. A neatly edited transformation does not show how long a real task takes. Food creators need to decide what each visual communicates before deciding how polished it should look.
This guide presents a planning approach for recipe writers, home cooks documenting their own meals and people designing food content. It does not introduce a tested recipe. Its examples concern how to explain a process and distinguish observed results from illustrative material.
Table of Contents
Choose the Question Before the Camera Angle
Start with one sentence: “This visual helps the reader…” Finish it with something specific. Perhaps it helps the reader identify an ingredient, compare two textures, understand the order of preparation or imagine a table setting. If you cannot complete that sentence, the image may be decoration rather than explanation.
A finished-dish photograph and a preparation close-up can both be useful, but they solve different problems. The finished image introduces the subject. The close-up may help a beginner understand a detail that written instructions describe. Avoid asking one image to do everything, especially when the recipe includes unfamiliar ingredients or equipment.
Take Awesome Cuisine’s vegetable biryani recipe as a reading example. A visual plan for that page could distinguish the named ingredients, the sequence in the written method and the final presentation. The recipe remains the source for quantities and instructions; the visual plan should not invent a different method.
Write a short shot list before beginning. Include an overview, one or two details that explain an important step, and a final view. Planning those moments reduces the temptation to reconstruct a missing stage with imagery that might misrepresent what actually happened.
Use Your Own Photographs to Show Real Results
When the purpose is to document a dish you prepared, your own photographs provide the clearest starting point. Keep the original files and record which session they came from. That simple habit makes it easier to distinguish a current attempt from an older picture or an illustrative reference.
Photograph the feature you are discussing. If a caption refers to the arrangement of toppings, show the whole surface. If it refers to an ingredient’s size, include a suitable reference rather than relying on an extreme close-up. A dramatic crop can make a small detail appear much larger than it is.
Use consistent light where possible. Changing from cool window light to a warm ceiling lamp can make the same food look different between steps. You do not need a professional studio, but you do need to notice whether the lighting changes the feature the reader is trying to compare.
Keep editing connected to the purpose of the image. Cropping away a distracting background is different from changing the food itself. Adding a missing garnish, increasing the apparent portion or altering colour to imply a different result can turn a documentary image into an illustration. If you make a material illustrative change, explain it.
Props also carry meaning. A serving spoon, pan or plate can help viewers judge scale, but an unfamiliar utensil might confuse the story. Choose objects that belong to the actual context. You can create a pleasing composition without implying ingredients, equipment or serving arrangements that were never used.
For photographs supplied by someone else, obtain permission and follow the agreed credit requirements. Keep a record of the source and licence. An image being easy to download does not establish that it can be used in your article or video.
Build a Step Sequence That Readers Can Follow
A step animation need not be a realistic moving scene. It can be a controlled sequence of still photographs, labelled cards or simple diagrams. The useful element is that the author chooses the order and decides how much information appears at each stage.
Start with the written method, then identify the transitions that may need explanation. A preparation card might identify the ingredients already measured. A later card could show where a topping is placed. The final card could show the presentation. Each card should describe its role, rather than depend on viewers guessing from the picture.
Awesome Cuisine’s vegetable dosa recipe provides another reading example. A visual outline could distinguish the batter stage, the addition of toppings and the covered-cooking stage described on the page. This outline is not a substitute for the recipe’s instructions or a claim that those steps were tested for this article.
Keep the labels outside important areas of the photograph. A large caption placed across a pan can hide the very detail you want someone to inspect. Short labels work well within a sequence; longer explanations can remain beside it or in the accompanying recipe text.
Be explicit about omitted time. If a ten-minute activity becomes a two-second transition, use an editing cue or caption to show that time has passed. Viewers should not need to infer whether they are watching continuous footage, a time-lapse or a sequence assembled from separate photographs.
Provide pause and replay controls when the publishing format supports them. People may want to return to a stage while preparing their ingredients. A static version of the same sequence is useful when video is inconvenient, connectivity is limited or the viewer prefers to read.
Keep Generated Motion in an Illustrative Role
Generated motion can be useful for a clearly identified introductory scene, an imagined table setting or a visual mood. Its role should remain distinct from footage of a real cooking session. A tool can create movement from an image without establishing that the movement occurred in the kitchen.
For example, a creator might use Magic Hour’s image-to-video tool to explore a moving illustration based on an image they own. The appropriate caption would describe it as an AI-generated illustration. It should not be presented as a recording of preparing, serving or testing the recipe.
Use precise disclosure near the clip. “AI-generated table-setting illustration” is more informative than a vague “enhanced” label. If a real food photograph forms the starting image, explain that the movement was generated. Readers can then distinguish the original photograph from the imagined action added to it.
Review every part of the clip. Food shapes, utensils and decorative objects may change as it progresses. A bowl can appear to gain ingredients, a hand can perform an unintended action, or a surface can acquire a texture that was not present in the starting photograph. Reject or revise imagery that changes the intended message.
Do not use generated imagery to establish doneness, food safety, temperature or a reliable cooking technique. Those claims need an appropriate factual basis. Even a realistic-looking illustration cannot supply the missing observation or measurement.
When showing people, avoid inventing an endorsement. A generated person enjoying a dish should not be presented as a real customer, chef or family member’s reaction. If the scene is fictional, keep that status clear. Permission to use an original photograph also needs to cover the proposed use rather than being assumed.
Make the Story Work Without Sound
Some viewers watch food content with the sound off. Others cannot hear the narration. Put essential information in captions or the accompanying text, and make sure that music is never the only cue that separates one stage from another.
Choose readable type and leave enough time for each caption. A beautiful script font may work in a title but be difficult to read in a short instruction. Check the finished content on the screen size where it will appear, especially if most readers are likely to use a phone.
Describe useful details in image alternatives. Instead of writing “delicious food,” explain what the picture contributes to the article. A diagram’s text alternative can describe the order of its stages. Decorative images do not need to repeat information that already appears nearby.
Review the Whole Piece Before Sharing
Read the captions without looking at the visuals, then inspect the visuals without the captions. This can expose gaps in either half of the explanation. Next, review them together and check that the image supports the exact claim being made beside it.
Ask someone unfamiliar with the draft what they believe it shows. Can they identify which images document a real preparation, which explain a sequence and which are imagined? If they confuse these roles, change the labelling or placement before publishing.
Finally, keep the recipe and the story aligned. Check quantities, stage names and equipment references against the source recipe, retain appropriate credits, and ensure that short social clips preserve any essential disclosure. Useful food storytelling invites attention while giving readers an honest account of what they are seeing.