
Same recipe, same loaf pan, same bag of flour. Yet this week’s banana bread came out with edges like charcoal and a center that sank the moment you sliced it. Before you blame the bananas, buy a new pan or start fiddling with the baking soda, consider the one ingredient no recipe lists: heat.
Every recipe quietly assumes your oven is doing what the dial says. Plenty of ovens drift. A thermostat that reads a little high or low, a door that no longer closes snugly, a heating element that is starting to tire: any of these can turn a dependable recipe into a coin toss. The good news is that you can work out what you’re dealing with using an inexpensive thermometer, a sheet pan and a loaf of sandwich bread.
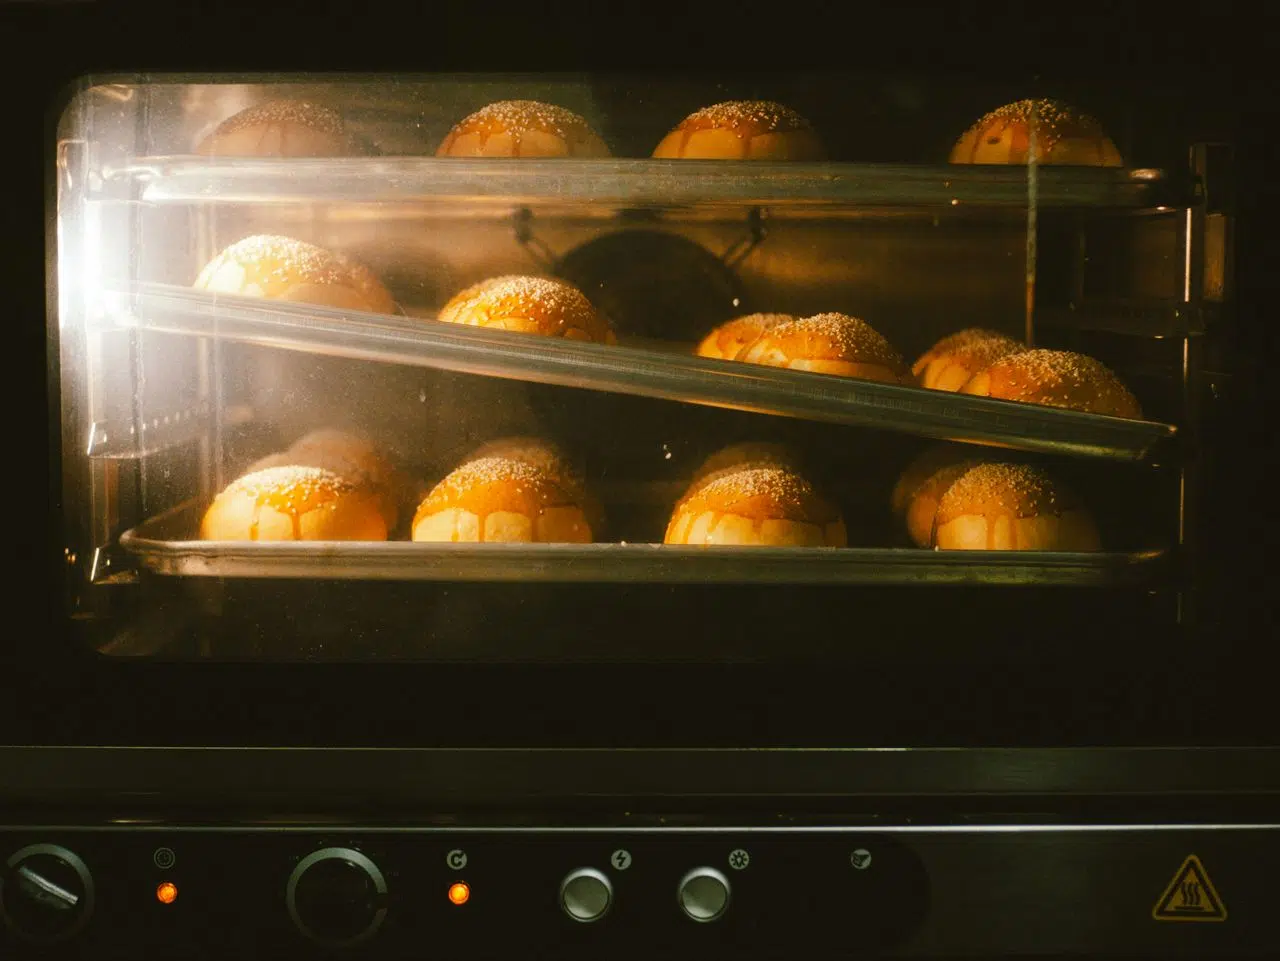
Read the evidence on the cooling rack
A failed bake is information. Look at it closely before you change anything.
- Dark outside, underdone inside: often an oven running hot, a dark metal pan, or a rack set too low. The crust sets and browns before the heat reaches the middle.
- Pale and still wet after the full baking time: often an oven running cool, or one that loses a lot of heat every time the door opens.
- One side darker than the other: a hot spot, or a pan sitting too close to a wall.
- Bottoms scorched, tops pale: rack position, a thin dark baking sheet, or a lower heat source doing most of the work.
- Cookies spreading into puddles: usually butter temperature or measuring, though a cool oven makes it worse.
Notice how often the pan and the rack turn up on that list. A lot of what looks like oven trouble is really setup. That’s why the single most useful habit at this stage is changing one thing at a time. Swap the pan, the rack and the temperature all at once and even a perfect next bake won’t tell you which change fixed it.
Get a real oven thermometer
The display on your oven shows the temperature you asked for, or a reading from one sensor tucked somewhere in the cavity. A thermometer that hangs from or stands on the rack shows what the air is doing where your food actually sits. They are cheap and sold in most grocery and hardware stores.
Your instant-read probe is a different tool. It’s built for poking into a chicken thigh, not for sitting in a 350°F oven for half an hour, and many will be ruined if you try.
Give a new thermometer a quick sanity check before you trust it. If its scale goes low enough, a dial model can be checked in boiling water, which sits near 212°F at sea level. If two thermometers disagree wildly, decide which one you believe before you start blaming the oven.
Run a proper temperature test
Choose a temperature you bake at often, say 350°F. Set the thermometer in the center of the middle rack, clear of the walls, with nothing else in the oven. Make sure you’re on regular bake, not convection. Then preheat.
Here’s the step most people skip: don’t take a single reading when the preheat signal sounds. Ovens never hold one steady temperature. They overshoot, switch the element or burner off, drift down, then fire again. The signal often comes before the oven has really settled, especially if a baking stone or heavy pans are inside.
Wait about 20 minutes after the signal, then read the thermometer through the window every five minutes or so for another 20. Keep the door shut as much as you can, because a wide-open door dumps heat fast. Write the numbers down. You’re looking for two things: the average and the swing. An oven that bounces a little above and below 350 and averages close to it is probably doing its job. One that never climbs past 325 has a problem worth fixing.
Repeat the test on another day, or at a second temperature such as 425°F. One reading is a hint. The same pattern across two or three tests is something you can act on.
Map the hot spots with a loaf of bread
A thermometer measures one spot. To see the whole oven at once, bakers use an old trick known as the toast test. Cover a large sheet pan edge to edge with slices of plain white sandwich bread and slide it onto the middle rack of an oven preheated to 350°F. Check after about 10 minutes, then every couple of minutes after that.
When the slices look golden, pull the pan and study it. In a perfect oven they would all be the same shade. In a real one you’ll see a pattern: darker slices at the back, perhaps, or along one wall, or a paler strip near the door. Take a photo. That’s a heat map of your oven, and it costs you a few slices of bread.
Almost every oven has some unevenness, and it’s usually easy to work around. Rotate the pan halfway through baking, give it more room, or keep delicate cookies out of the dark corner. A strong, lopsided pattern that’s new, though, is worth remembering if you end up calling someone.
Rule out the pan, the rack and the fan
Before you blame the oven, take a hard look at what you put in it.
Pan material changes a lot. Dark metal absorbs heat and browns faster. Shiny aluminum reflects it and bakes paler. Glass heats slowly but holds heat, which is why many bakers lower the temperature a little when they use a glass dish. If you recently swapped a light pan for a dark nonstick one, that alone could explain scorched edges.
Size matters too. Pour a 9-inch recipe into an 8-inch pan and the batter sits deeper, so the middle needs more time while the edges keep browning. That’s a pan problem, not a thermostat problem.
Rack position. Most cakes and cookies bake best in the middle. Lower racks sit closer to the bottom heat and brown the base faster; upper racks brown the tops.
Crowding. Two big sheet pans on one rack, or pans jammed against the walls, block the hot air that’s supposed to move around your food. Leave a couple of inches on each side when you can.
Convection. If your oven has a fan setting, check that nobody switched it on by accident. Convection pushes hot air across the food and usually bakes faster and browner, which is why recipes often suggest dropping the temperature by about 25°F when using it. Some ovens make that adjustment for you as soon as you pick convection. Your manual will say whether yours does.
Foil on the oven floor. It’s tempting as a drip catcher, but on many ovens it covers vents or reflects heat in ways the design didn’t plan for, and plenty of manufacturers warn against it. A sheet pan on a lower rack catches drips without the side effects.
Don’t let the oven take the blame for the recipe
Ovens get accused of plenty they didn’t do. Flour scooped straight from the bag packs into the cup much more heavily than flour spooned in and leveled, which leads to dry, dense cakes. Baking powder that has been open too long loses its lift. Cold eggs and butter change how a batter traps air. Opening the door in the first half of baking lets heat out just as the cake’s structure is setting.
While you’re testing the oven, hold all of that steady. Weigh the flour if you own a scale, use fresh leavening, and bake something you know by heart. A simple yellow cake or a tray of plain sugar cookies makes a better test than a holiday showpiece, because you won’t be tempted to rescue it halfway through.
Calibrate it yourself, if your oven allows
If your notes show the oven running consistently off, say about 20 degrees cool every single time, the fix may take five minutes. Many digital ovens hide a temperature offset setting in the control menu that lets you nudge the oven up or down within a limited range. Some older dial ovens have an adjustment screw behind the temperature knob. The owner’s manual, or the manufacturer’s website if the paper copy vanished years ago, will tell you whether your model has one and how it works.
Two rules. Write down the original setting before you touch anything. And after adjusting, repeat the exact same test: same rack, same thermometer position, same mode. Otherwise you can’t tell whether the change worked.
Calibration is for an oven that’s consistently off. It does nothing for an oven that’s erratic, running hot one day and cold the next, or swinging wildly during a single bake. If you catch yourself wanting to push the offset to its limit, stop there. That usually means a part is on its way out, and a big offset only hides the problem until it gets worse.
When it’s a job for a technician
Some symptoms aren’t baking problems at all. If you smell gas, turn the oven off if you can do it safely, get everyone out of the house and call your gas utility from outside. Don’t flip light switches or go hunting for the leak. Sparking, a burning electrical smell, or smoke that isn’t coming from a spill get the same seriousness: switch the oven off at the breaker and leave it off.
Then there are the slow failures. An oven that takes far longer to preheat than it used to, one that can’t reach high temperatures at all, a gas oven that clicks but won’t light, or an electric bake element with a visible blister or break: these usually point to a part such as the temperature sensor, the igniter or the element itself. None of those belong on a baker’s to-do list.
This is where your notes pay off. Bakers in South Florida might call Starchenko Appliance Repair; elsewhere, look for a local technician who works on your type of oven, gas or electric. Either way, have the model number ready, along with the temperatures you recorded, the mode you used and that photo of the toast test. It’s a lot more useful than “it burns everything.”
Mention anything that changed around the time the trouble began, too: a move, a self-clean cycle, a power outage, a new set of pans. Small details like these help the person on the other end separate a setup issue from a failing part.
Make the next bake your final exam
Once the oven is calibrated or repaired, go back to the recipe that started all this. Same pan, same rack, same mode. If it comes out right, write the setup on the recipe card: middle rack, light metal pan, regular bake, rotate at the halfway point. Next time there’s nothing to guess.
And leave the oven thermometer where it is. A two-second glance before the batter goes in will tell you more than the display ever could, and it might save the next birthday cake.